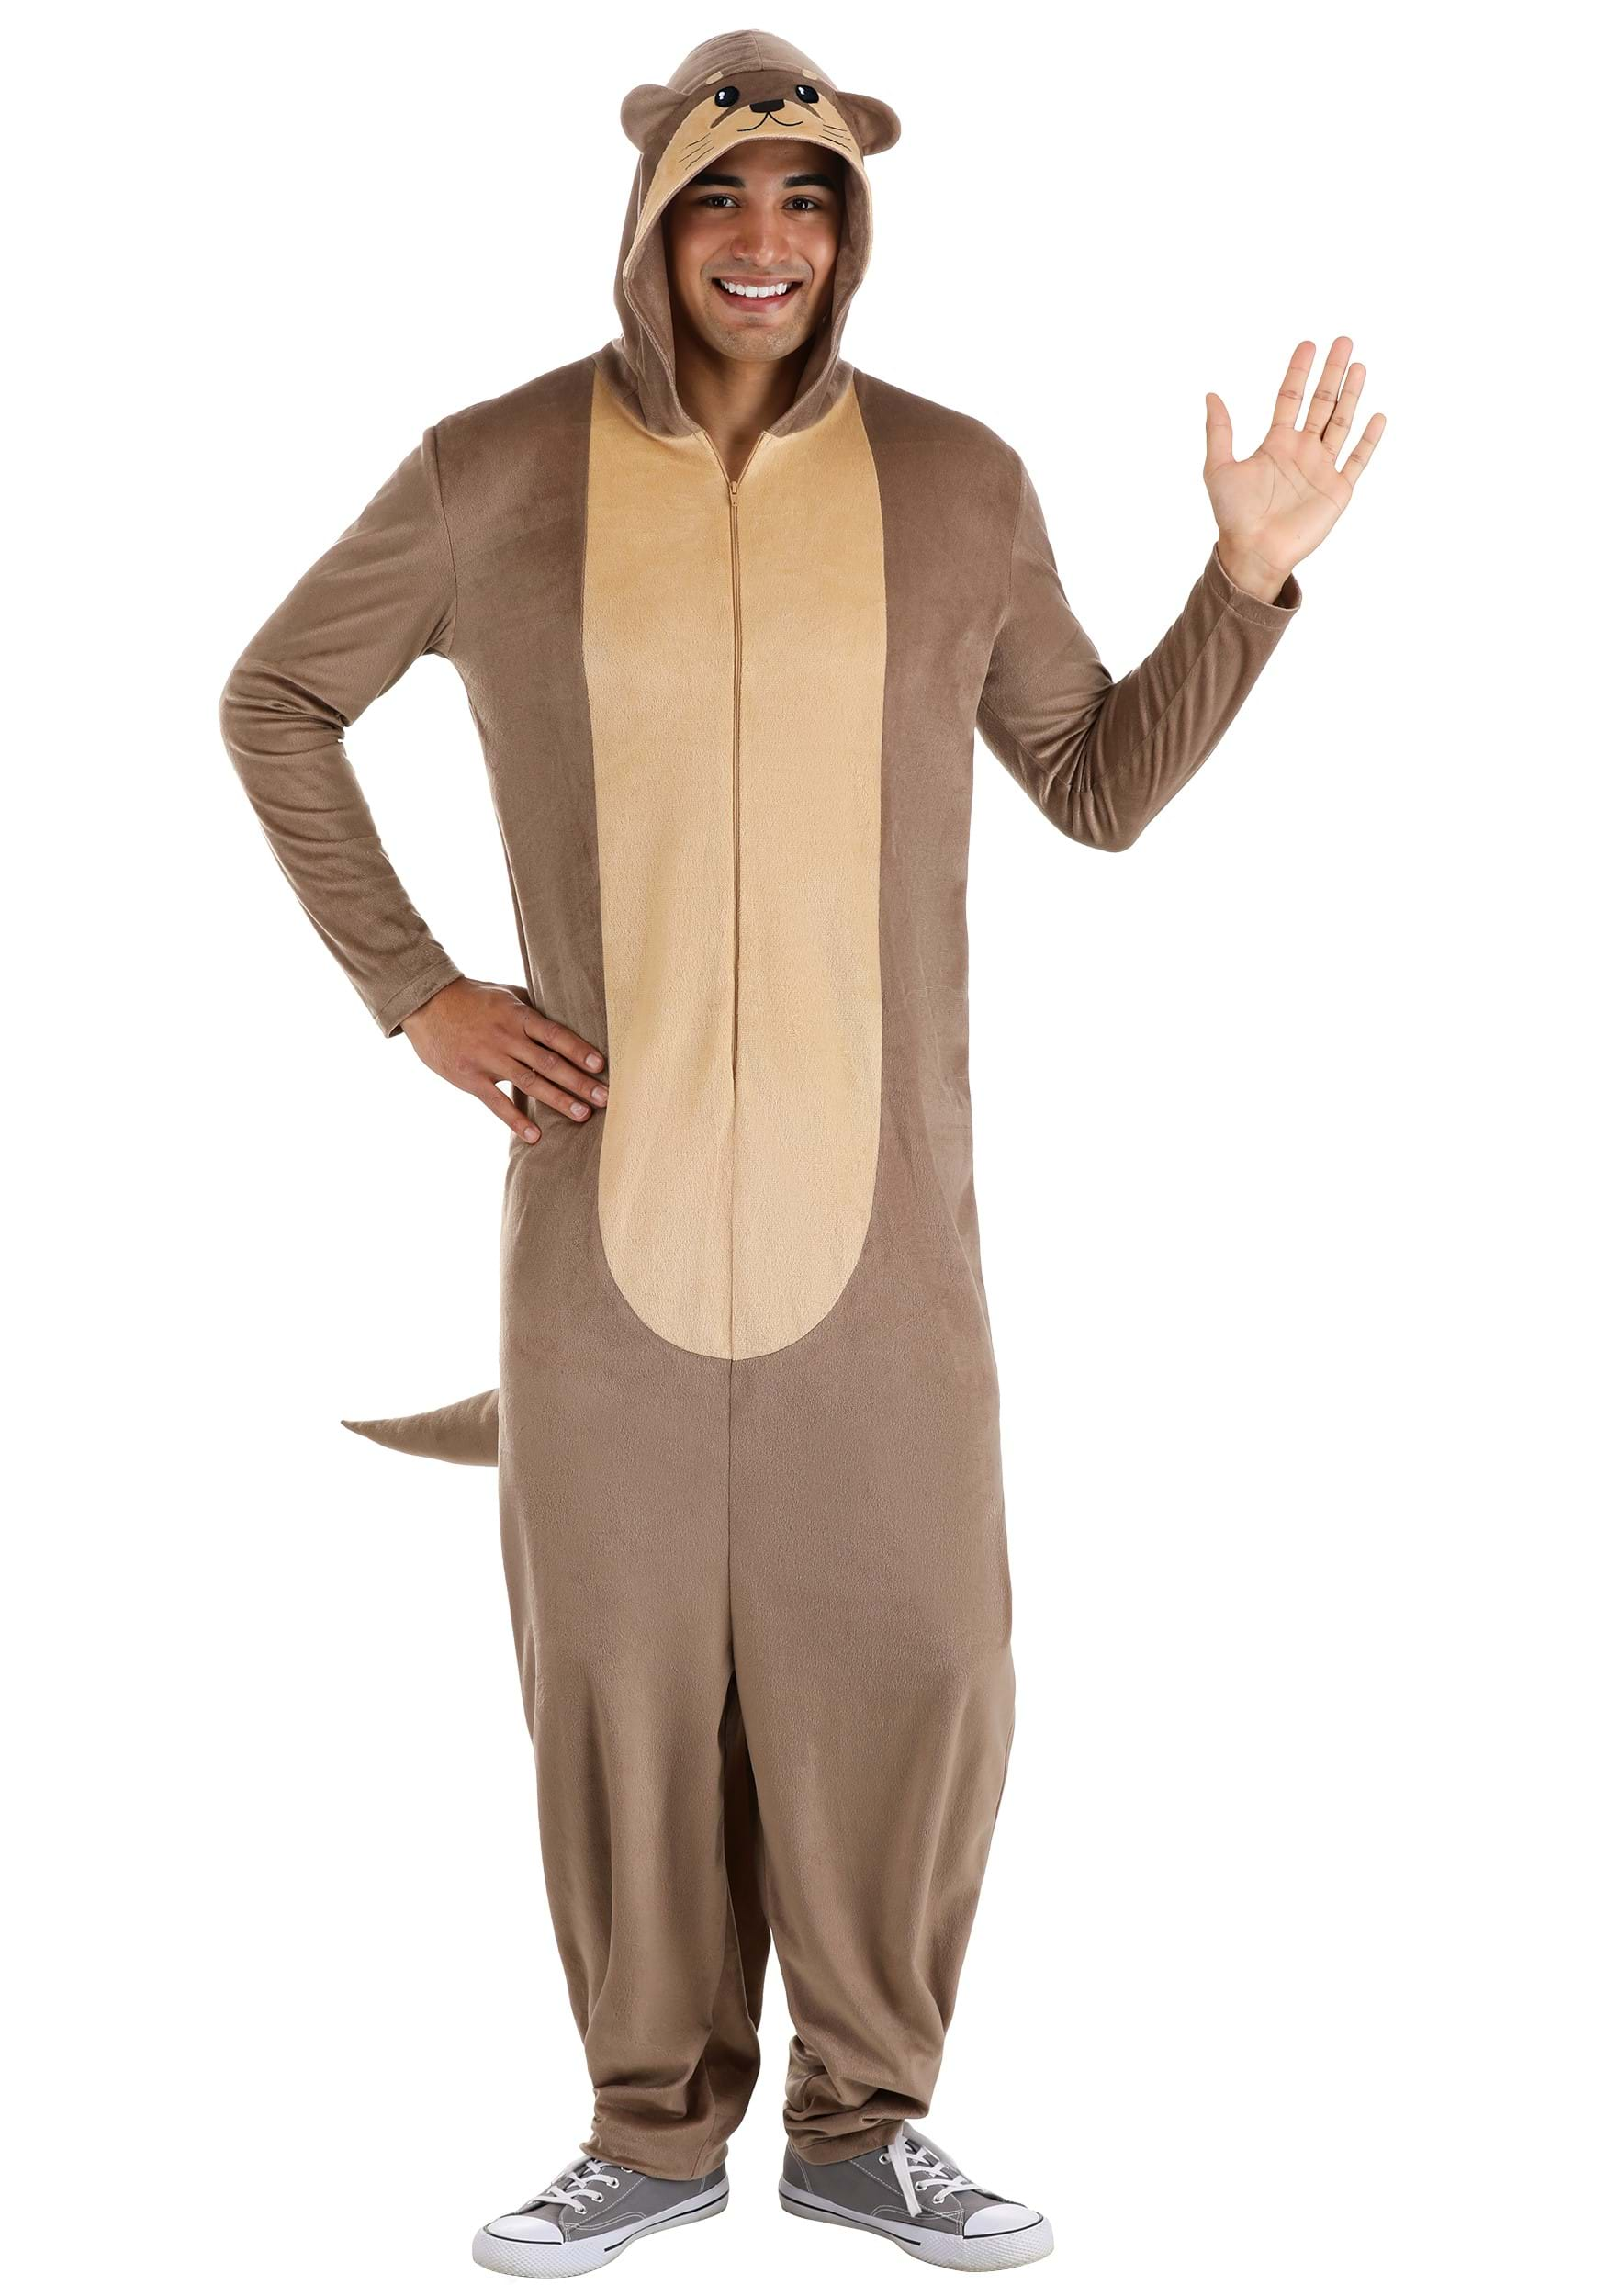
Creating a DIY otter costume can be an exciting and rewarding project for craft enthusiasts of all ages. Whether you're preparing for a Halloween party, a school play, or simply looking for a fun weekend activity, making your own otter costume is a great way to express creativity and imagination. With a few simple materials and some basic crafting skills, you can design a costume that stands out and brings joy to everyone around you.
This step-by-step guide will walk you through the process of creating a DIY otter costume that is both adorable and functional. From gathering materials to assembling the final product, we'll cover every detail to ensure your costume turns out perfectly. Otters are known for their playful nature, and your costume will surely reflect that charm.
Whether you're a parent looking to create a memorable experience for your child or an adult who wants to embrace their inner otter, this guide is tailored to cater to all skill levels. Let's dive into the world of crafting and learn how to bring your otter costume to life!
Read also:Dominic Chianese The Iconic Actor Behind The Character Of Uncle Junior
Table of Contents
- Materials Needed for Your DIY Otter Costume
- Designing the Otter Costume
- Creating the Body of the Otter Costume
- Making the Otter Headpiece
- Designing Otter Paws
- Creating the Otter Tail
- Choosing the Right Colors for Your Otter Costume
- Tips for a Perfect DIY Otter Costume
- Customizing Your Otter Costume for All Ages
- Conclusion and Next Steps
Materials Needed for Your DIY Otter Costume
Before you start crafting, it's essential to gather all the necessary materials. Having everything ready will make the process smoother and more enjoyable. Here's a list of items you'll need:
- Fabric in brown and cream colors
- Fabric scissors
- Sewing machine or needle and thread
- Foam or stuffing material
- Hot glue gun
- Felt sheets for details
- Velcro strips for closures
- Plastic eyes (optional)
These materials are readily available at most craft stores and can be purchased online if needed. Ensure you choose high-quality fabrics to make your otter costume durable and long-lasting.
Designing the Otter Costume
Designing your otter costume involves creating a blueprint or sketch of how you want the final product to look. This step is crucial as it helps you visualize the costume and plan the construction process.
Understanding Otter Anatomy
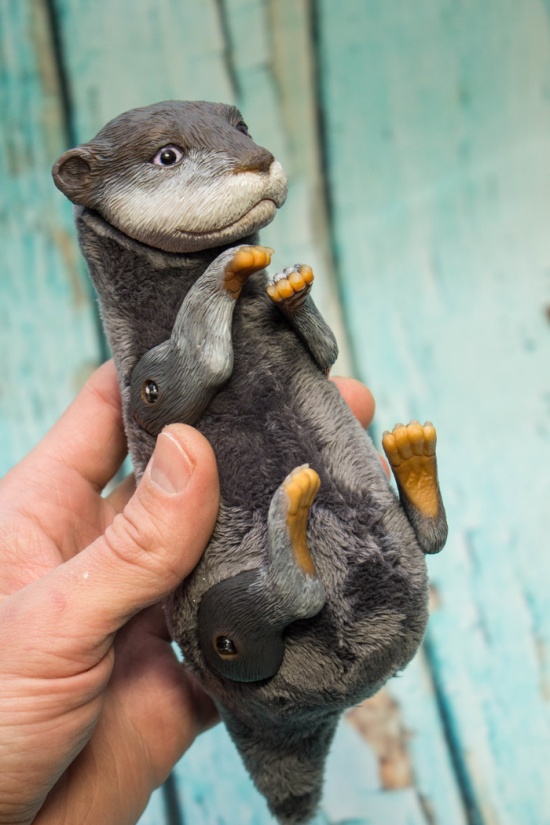
To create a realistic otter costume, it's important to study the anatomy of an otter. Otters have sleek bodies, webbed feet, and a long tail. Incorporating these features into your design will make your costume more authentic.
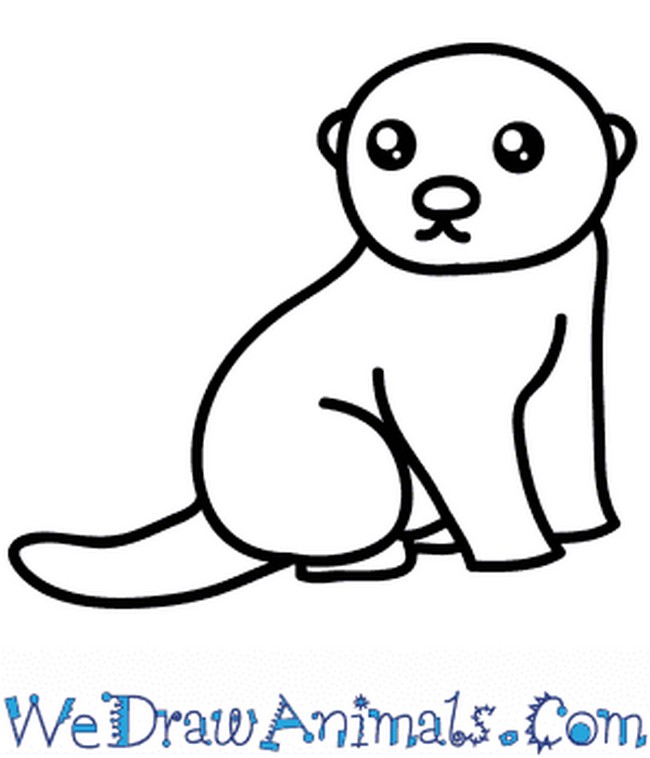
Sketching the Design
Grab a piece of paper and sketch the outline of your otter costume. Include details such as the head, body, paws, and tail. This will serve as a reference when you start assembling the costume.
Creating the Body of the Otter Costume
The body of the otter costume is the foundation of the entire project. It should be comfortable to wear and allow for ease of movement.
Read also:Admired Performances Of Actor John Astin An Iconic Hollywood Presence
Selecting the Right Fabric
Choose a soft, stretchy fabric for the body to ensure comfort. Brown fabric works best for the otter's body, while cream fabric can be used for the belly area.
Sewing the Body
Follow your sketch to cut out the fabric pieces for the body. Use a sewing machine to stitch the pieces together, leaving a small opening for turning the costume right side out. Once turned, stuff the body with foam or stuffing material and sew the opening closed.
Making the Otter Headpiece
The headpiece is a key feature of your otter costume and should be designed to resemble an otter's face.
Crafting the Face
Use felt sheets to create the otter's facial features, such as the nose, whiskers, and ears. Attach these details to the headpiece using a hot glue gun for a secure hold.
Ensuring Comfort
Make sure the headpiece is comfortable to wear by adding padding or using a lightweight material. You can also add adjustable straps to fit the headpiece securely.
Designing Otter Paws
Otter paws are unique due to their webbed structure. Adding this detail to your costume will enhance its realism.
Creating Webbed Feet
Cut out fabric pieces for the paws and sew them together, leaving space for the webbing. Use a contrasting color for the webbing to make it stand out.
Attaching the Paws
Secure the paws to the costume using Velcro strips or elastic bands. This will allow for easy removal and adjustment.
Creating the Otter Tail
The otter's tail is long and strong, making it an important feature of the costume.
Designing the Tail
Use a long strip of fabric to create the tail. Sew it into a tube shape and stuff it with foam or stuffing material. Attach the tail to the costume using a strong stitching method.
Adding Texture
To make the tail more realistic, you can add texture using fabric paint or embroidery. This will give your otter costume an extra touch of detail.
Choosing the Right Colors for Your Otter Costume
Colors play a significant role in creating a lifelike otter costume. Otters have a distinctive color pattern that you should aim to replicate.
Using Brown and Cream Shades
The primary colors for your otter costume should be brown and cream. Use these shades to create a natural look that mimics the otter's fur.
Incorporating Accents
Add accent colors to highlight specific features, such as the otter's nose or whiskers. This will make your costume more vibrant and eye-catching.
Tips for a Perfect DIY Otter Costume
Here are some additional tips to help you create a flawless otter costume:
- Take your time with each step to ensure precision.
- Test the costume for comfort and adjust as needed.
- Use high-quality materials for durability.
- Refer to otter images for inspiration and accuracy.
By following these tips, you can create a DIY otter costume that is both stylish and functional.
Customizing Your Otter Costume for All Ages
One of the advantages of making a DIY otter costume is the ability to customize it for different age groups.
For Children
When creating a costume for children, prioritize safety and comfort. Use non-toxic materials and ensure all parts are securely attached.
For Adults
Adult otter costumes can be more elaborate, incorporating additional details such as fur texture or intricate designs. This allows for more creativity and personalization.
Conclusion and Next Steps
In conclusion, creating a DIY otter costume is a fun and rewarding project that can be enjoyed by people of all ages. By following this step-by-step guide, you can design a costume that is both adorable and functional. Remember to take your time, use high-quality materials, and customize the costume to fit your needs.
We encourage you to share your otter costume creations with others. Leave a comment below to let us know how your project turned out, and don't forget to check out our other crafting guides for more inspiration. Happy crafting!
Data Source: National Geographic, Otter Conservation Society