Remote IoT monitoring has become an essential aspect of modern technology, enabling seamless control and data collection from various devices. Whether you're a professional engineer or a tech enthusiast, understanding how to set up a remote IoT monitoring system using SSH is crucial. This article will guide you through the process of configuring your Raspberry Pi with Ubuntu and Windows for remote IoT monitoring using SSH, ensuring you have a robust setup that meets your needs.
As technology continues to evolve, the demand for remote access to IoT devices has skyrocketed. Businesses and individuals alike are seeking ways to monitor their IoT devices efficiently, ensuring they remain operational and secure. With remote IoT monitoring, you can access critical data and manage devices from virtually anywhere, improving productivity and reducing downtime.
This comprehensive guide will walk you through every step of the process, from downloading the necessary software to configuring your Raspberry Pi. By the end of this article, you'll have a clear understanding of how to set up a secure and reliable remote IoT monitoring system using SSH.
Read also:All About The Teacup Maltese A Delightful Companion
Table of Contents
- Introduction to Remote IoT Monitoring
- Understanding SSH for Remote Access
- Raspberry Pi Overview
- Installing Ubuntu on Raspberry Pi
- Configuring SSH on Raspberry Pi
- Connecting to Raspberry Pi from Windows
- Securing Your Remote IoT Monitoring System
- Troubleshooting Common Issues
- Best Practices for Remote IoT Monitoring
- Conclusion and Next Steps
Introduction to Remote IoT Monitoring
Remote IoT monitoring involves the use of various technologies to access, control, and gather data from IoT devices located in different geographical locations. This process is critical for industries such as manufacturing, agriculture, healthcare, and more, where real-time data collection and analysis are essential.
One of the most popular methods for remote IoT monitoring is through SSH (Secure Shell). SSH provides a secure channel for communication between devices, ensuring that your data remains protected from unauthorized access. By using SSH, you can remotely manage your IoT devices, perform software updates, and troubleshoot issues without physically being present at the location.
Key benefits of remote IoT monitoring include improved efficiency, reduced operational costs, and enhanced security. With the ability to monitor devices in real-time, businesses can quickly identify and resolve issues, minimizing downtime and maximizing productivity.
Understanding SSH for Remote Access
What is SSH?
SSH, or Secure Shell, is a network protocol that allows secure communication between two devices over an unsecured network. It encrypts all data transmitted between the client and server, ensuring that sensitive information remains confidential and protected from potential threats.
SSH is widely used for remote access and management of servers, IoT devices, and other networked systems. Its robust security features make it an ideal choice for remote IoT monitoring, providing a reliable and secure connection for data transfer and device control.
Key Features of SSH
- Encryption: SSH encrypts all data transmitted between devices, protecting it from interception and unauthorized access.
- Authentication: SSH supports various authentication methods, including passwords, public key authentication, and more, ensuring only authorized users can access the system.
- Portability: SSH can be used across different platforms, including Linux, Windows, and macOS, making it versatile for various applications.
Raspberry Pi Overview
The Raspberry Pi is a compact, affordable single-board computer that has gained immense popularity among hobbyists, educators, and professionals alike. With its powerful hardware and compatibility with various operating systems, the Raspberry Pi is an excellent choice for setting up a remote IoT monitoring system.
Read also:Who Is Calum Scott An Inspiring Tale Of Talent And Perseverance
Key features of the Raspberry Pi include:
- Compact Size: The Raspberry Pi is small and lightweight, making it easy to integrate into various IoT projects.
- Cost-Effective: Its affordability makes it accessible to a wide range of users, from beginners to experts.
- Community Support: The Raspberry Pi has a vast and active community, providing extensive resources and support for users.
For remote IoT monitoring, the Raspberry Pi can be configured to run Ubuntu, a popular Linux-based operating system, enabling advanced functionalities and compatibility with SSH.
Installing Ubuntu on Raspberry Pi
Why Choose Ubuntu?
Ubuntu is a widely-used Linux distribution known for its stability, security, and ease of use. By installing Ubuntu on your Raspberry Pi, you can take advantage of its robust features and compatibility with various applications, making it an ideal choice for remote IoT monitoring.
Steps to Install Ubuntu on Raspberry Pi
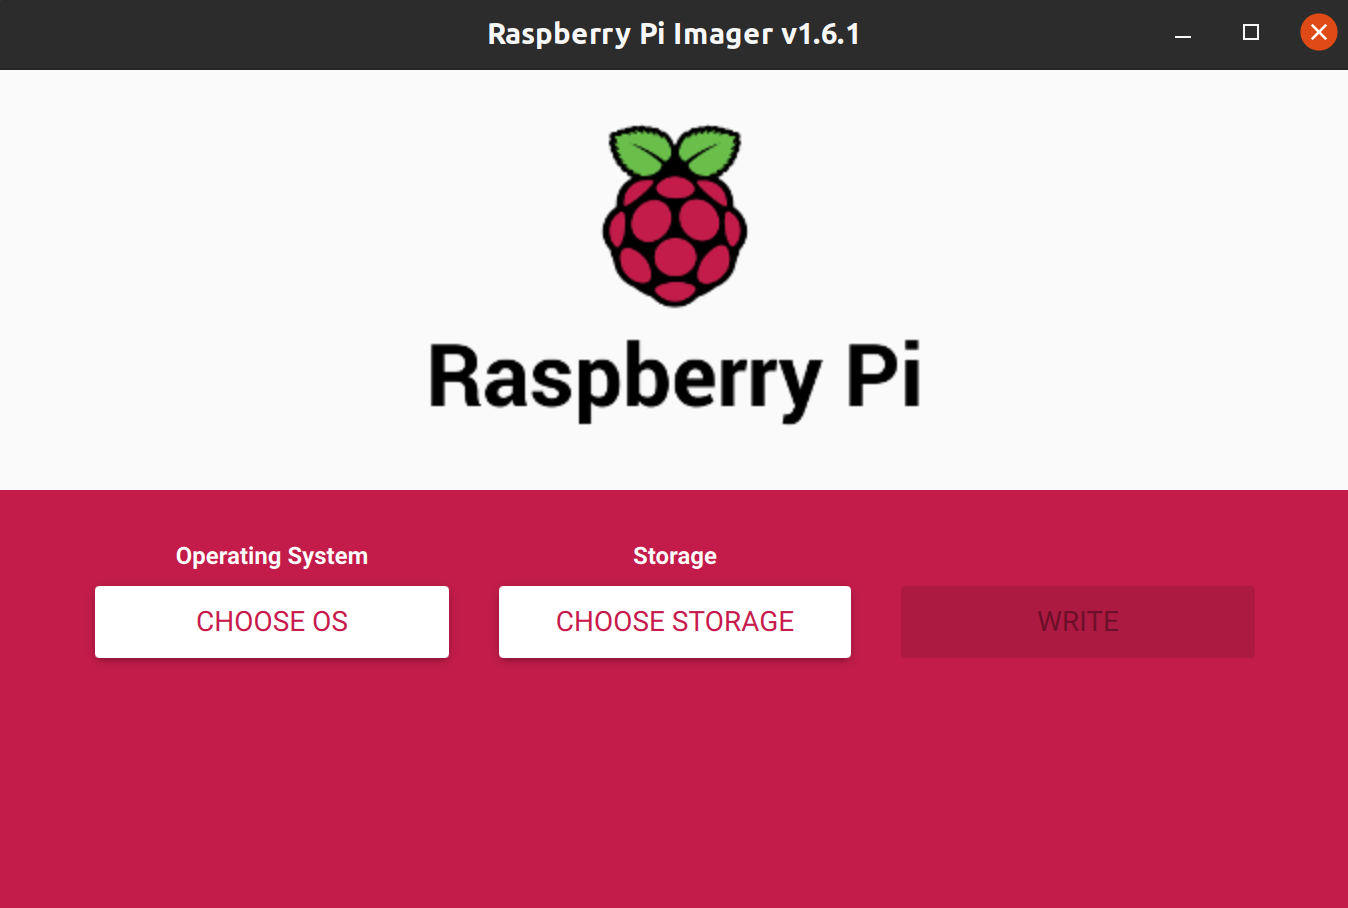
- Download Ubuntu Image: Visit the official Ubuntu website and download the latest Raspberry Pi image.
- Prepare SD Card: Use a tool like Balena Etcher to write the downloaded image to an SD card.
- Insert SD Card: Insert the prepared SD card into your Raspberry Pi and power it on.
- Complete Initial Setup: Follow the on-screen instructions to complete the initial setup, including setting up the network and user account.
Once Ubuntu is installed, you can proceed to configure SSH for remote access.
Configuring SSH on Raspberry Pi
Enabling SSH on your Raspberry Pi is a straightforward process. Follow these steps to configure SSH:
- Enable SSH Service: Open the terminal and run the command
sudo systemctl enable sshto enable the SSH service. - Start SSH Service: Use the command
sudo systemctl start sshto start the SSH service. - Verify SSH Status: Run
sudo systemctl status sshto confirm that the SSH service is active.
With SSH configured, you can now connect to your Raspberry Pi from a remote location.
Connecting to Raspberry Pi from Windows
Using PuTTY for SSH Connection
PuTTY is a popular SSH client for Windows that allows you to connect to your Raspberry Pi securely. Follow these steps to establish a connection:
- Download PuTTY: Visit the official PuTTY website and download the latest version.
- Open PuTTY: Launch PuTTY and enter the IP address of your Raspberry Pi in the "Host Name" field.
- Connect: Click "Open" to initiate the connection and log in using your Raspberry Pi's credentials.
Troubleshooting Connection Issues
If you encounter issues connecting to your Raspberry Pi, ensure that:
- The Raspberry Pi is connected to the same network as your Windows machine.
- SSH is enabled and running on the Raspberry Pi.
- Firewall settings on both devices allow SSH traffic.
Securing Your Remote IoT Monitoring System
Security is paramount when setting up a remote IoT monitoring system. Follow these best practices to ensure your system remains secure:
- Use Strong Passwords: Create complex passwords for your Raspberry Pi and avoid using default credentials.
- Enable Two-Factor Authentication: Add an extra layer of security by enabling two-factor authentication for SSH access.
- Regularly Update Software: Keep your operating system and applications up to date to protect against vulnerabilities.
By implementing these security measures, you can safeguard your remote IoT monitoring system from potential threats.
Troubleshooting Common Issues
While setting up your remote IoT monitoring system, you may encounter various issues. Here are some common problems and their solutions:
- Connection Refused: Ensure that SSH is enabled and running on the Raspberry Pi.
- Incorrect IP Address: Double-check the IP address of your Raspberry Pi and ensure it is correct.
- Network Connectivity Issues: Verify that both devices are connected to the same network and that there are no firewall restrictions.
If the issue persists, consult the official Raspberry Pi and Ubuntu documentation for further assistance.
Best Practices for Remote IoT Monitoring
To ensure optimal performance and security of your remote IoT monitoring system, follow these best practices:
- Monitor System Logs: Regularly review system logs to identify and address potential issues promptly.
- Implement Data Encryption: Encrypt sensitive data to protect it from unauthorized access.
- Perform Regular Backups: Back up your data regularly to prevent loss in case of system failure or other issues.
By adhering to these best practices, you can maintain a reliable and secure remote IoT monitoring system.
Conclusion and Next Steps
In conclusion, setting up a remote IoT monitoring system using SSH on a Raspberry Pi with Ubuntu is a powerful solution for managing IoT devices effectively. By following the steps outlined in this guide, you can establish a secure and reliable connection to your Raspberry Pi from a Windows machine, enabling seamless remote monitoring and management.
We encourage you to explore further by experimenting with additional features and functionalities that Ubuntu offers. Additionally, consider joining online communities and forums to connect with other Raspberry Pi and IoT enthusiasts, sharing knowledge and learning from one another.
Feel free to leave a comment below if you have any questions or suggestions. Don't forget to share this article with others who may find it helpful, and explore more resources on our website to enhance your tech skills.